Parts We Carry
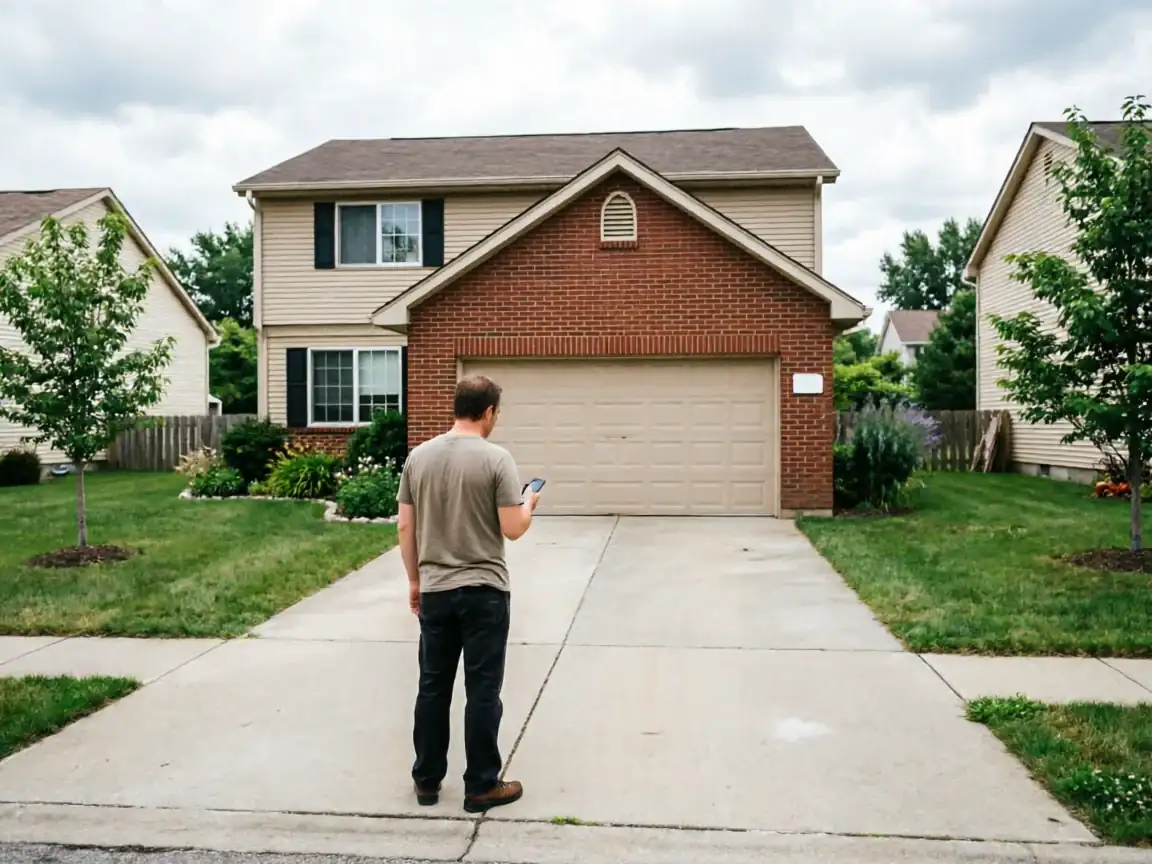
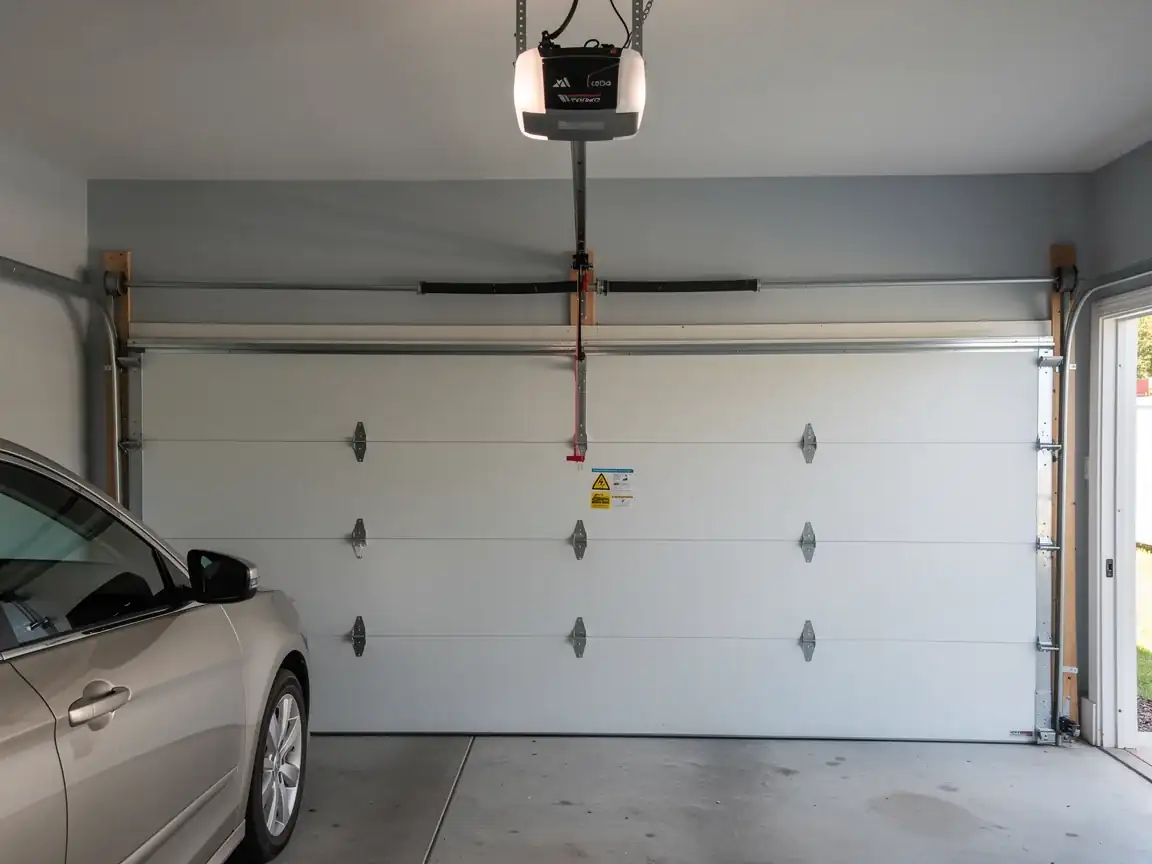
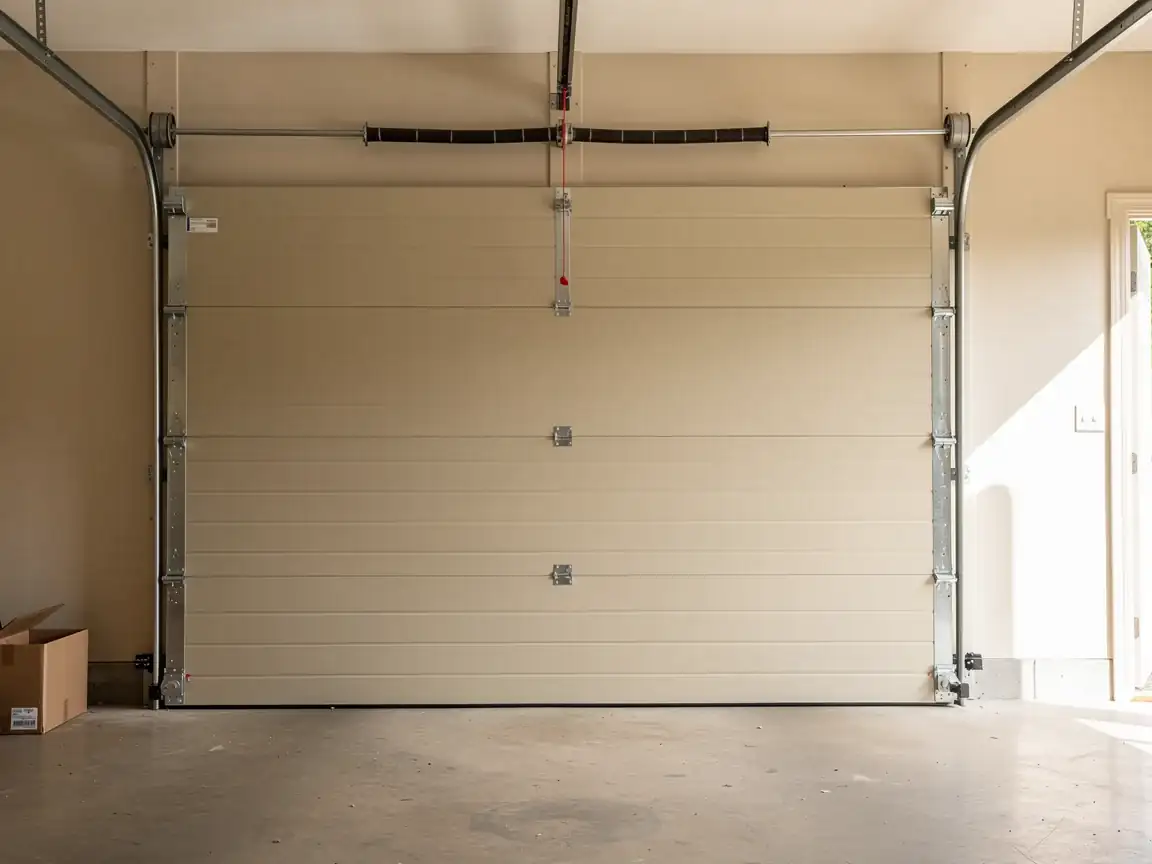
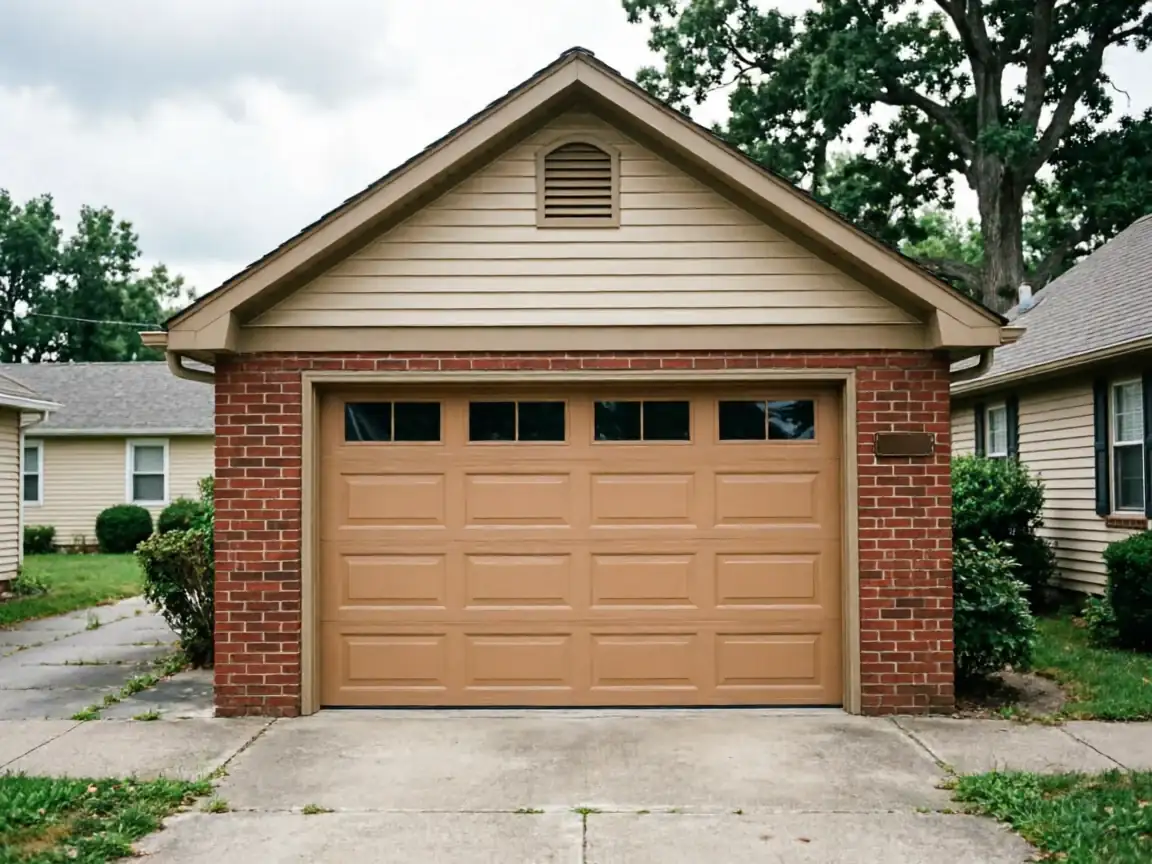
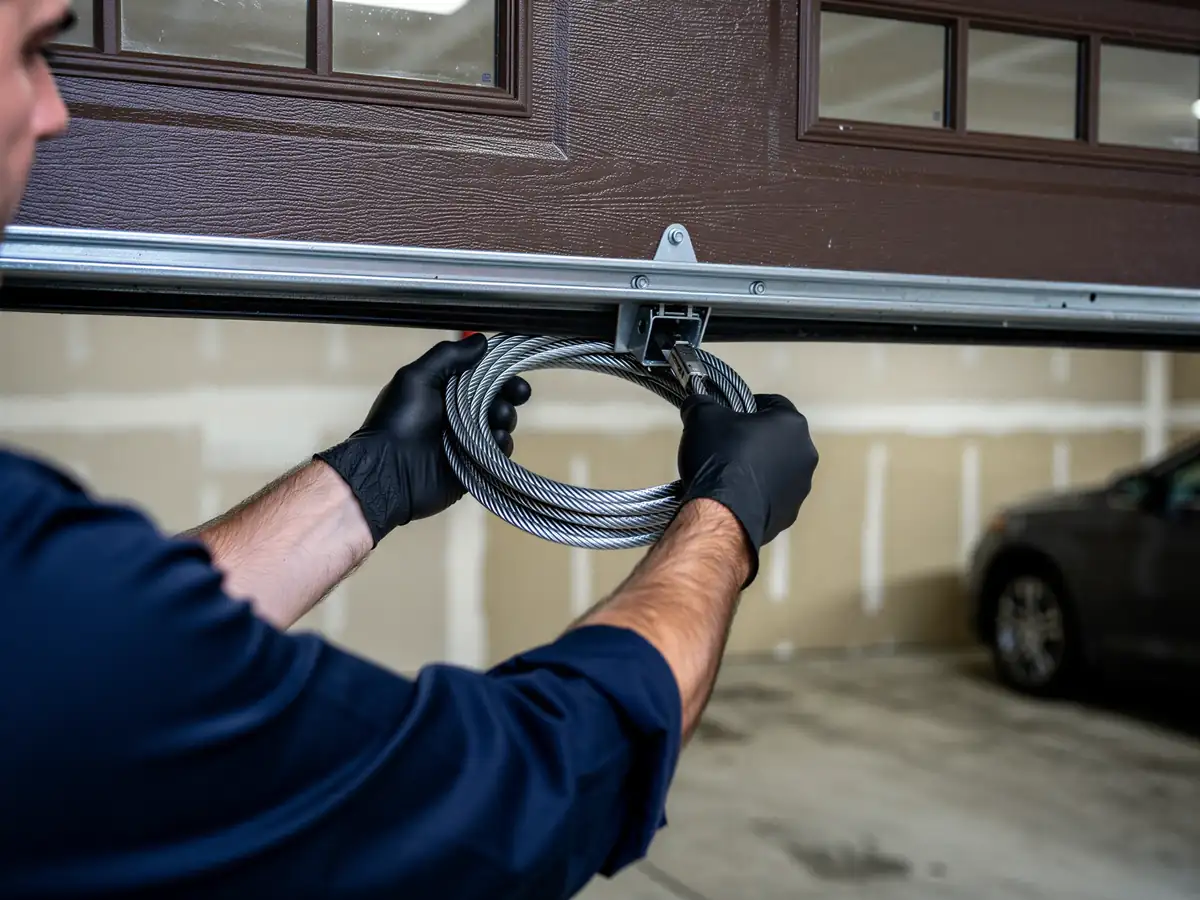
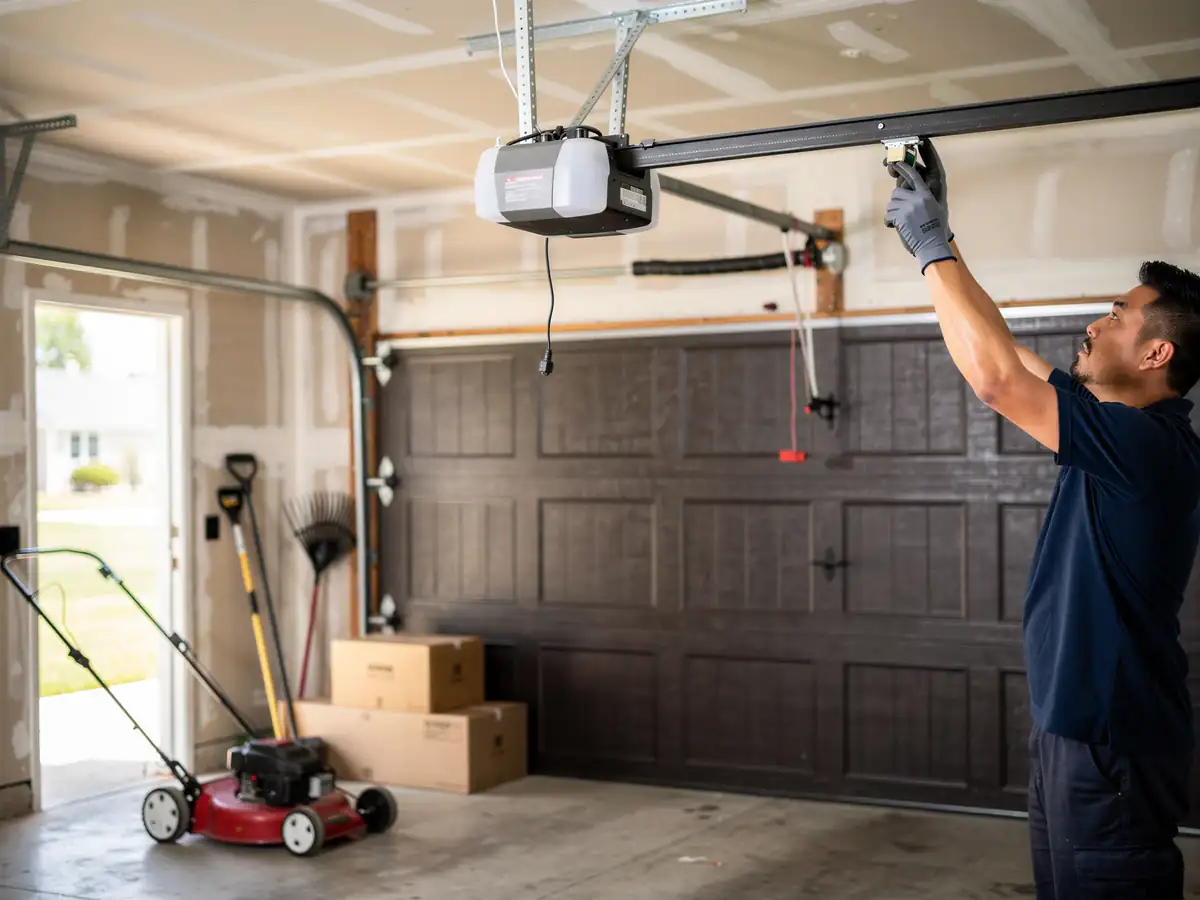
We load the truck in Akron before the 7-mile drive out to Cuyahoga Falls, so the opener, rail, and mounting hardware for the job are already on board - there's no depot here to run back to if something's missing. For houses from the 1959 era, the common gap is header clearance and the bracket style: a lot of these garages were framed before manufacturers standardized the reinforcement bracket that modern belt and chain units expect. We carry both the standard header bracket and the extended version for low-clearance headers, along with 7-foot and 8-foot rail kits, because ceiling height on a 1959-built garage isn't always what a stock kit assumes. We also keep battery backup units on the truck, which matters more here than it sounds - a severe-cold winter outage with the garage door stuck down is a bad night to not have one. What we don't carry is every smart-home hub integration on the market; if you want a specific ecosystem tie-in beyond the standard app control, ask before we book the job so we bring the right unit the first time.
Time on the Job
A straight swap - same rail length, same bracket, no reframing - runs about what you'd expect for a one-opener job, plus the 7 miles each way from Akron, which we account for in scheduling rather than charging as a separate trip fee. If the header needs an extended bracket or the old rail has to be fully pulled and replaced because of mismatched mounting points from a prior installation, that adds time on site. We won't know which case it is until we're looking at the actual header, so we quote the simple job and flag the possibility of the longer one before we start, not after.
The Cost of This Job
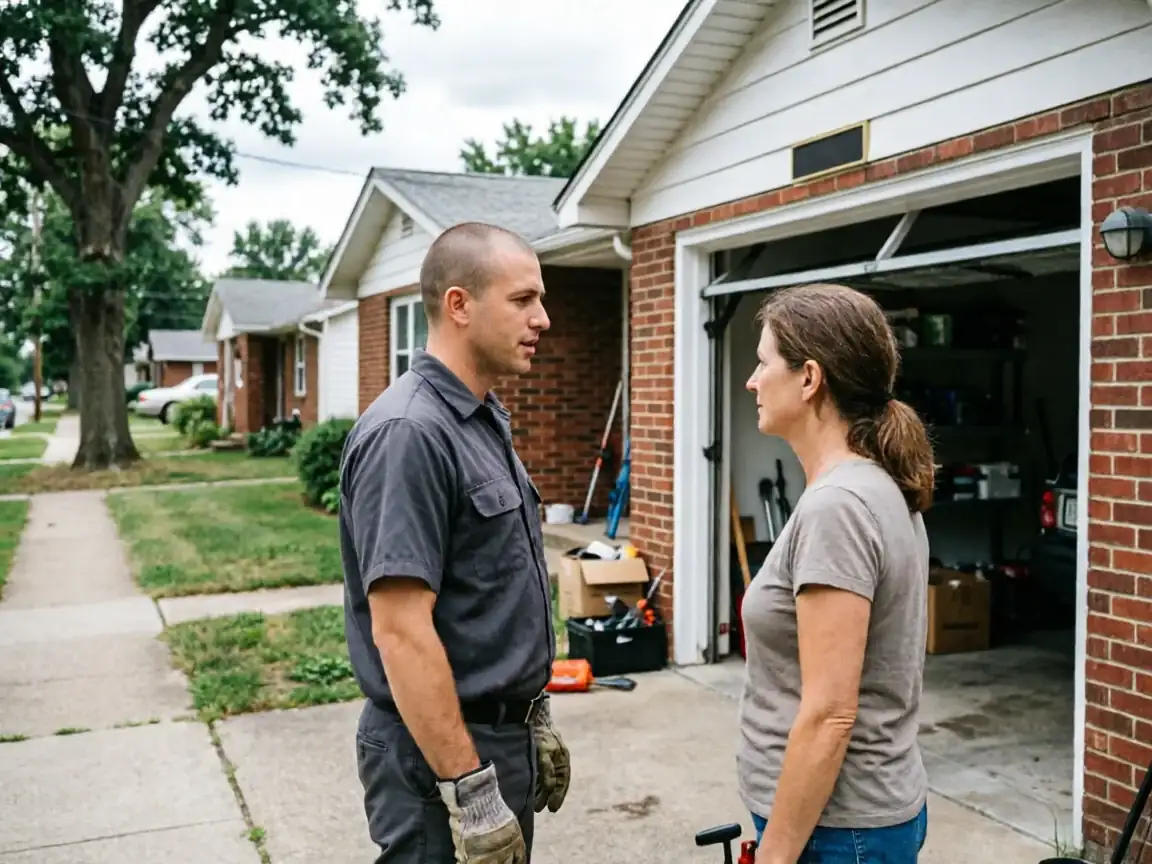
We don't have a posted price list for this page, and giving you a number without seeing the header and the existing wiring would be a guess, not a quote. What we can tell you is what drives the cost up versus down: a direct swap with a compatible bracket costs less than a job needing an extended bracket, new rail, or a dedicated outlet added near the unit - the kind of electrical gap you sometimes find in a garage built in 1959 and never updated since. Ask for a number once we've seen the garage, not before.
How We Fix It
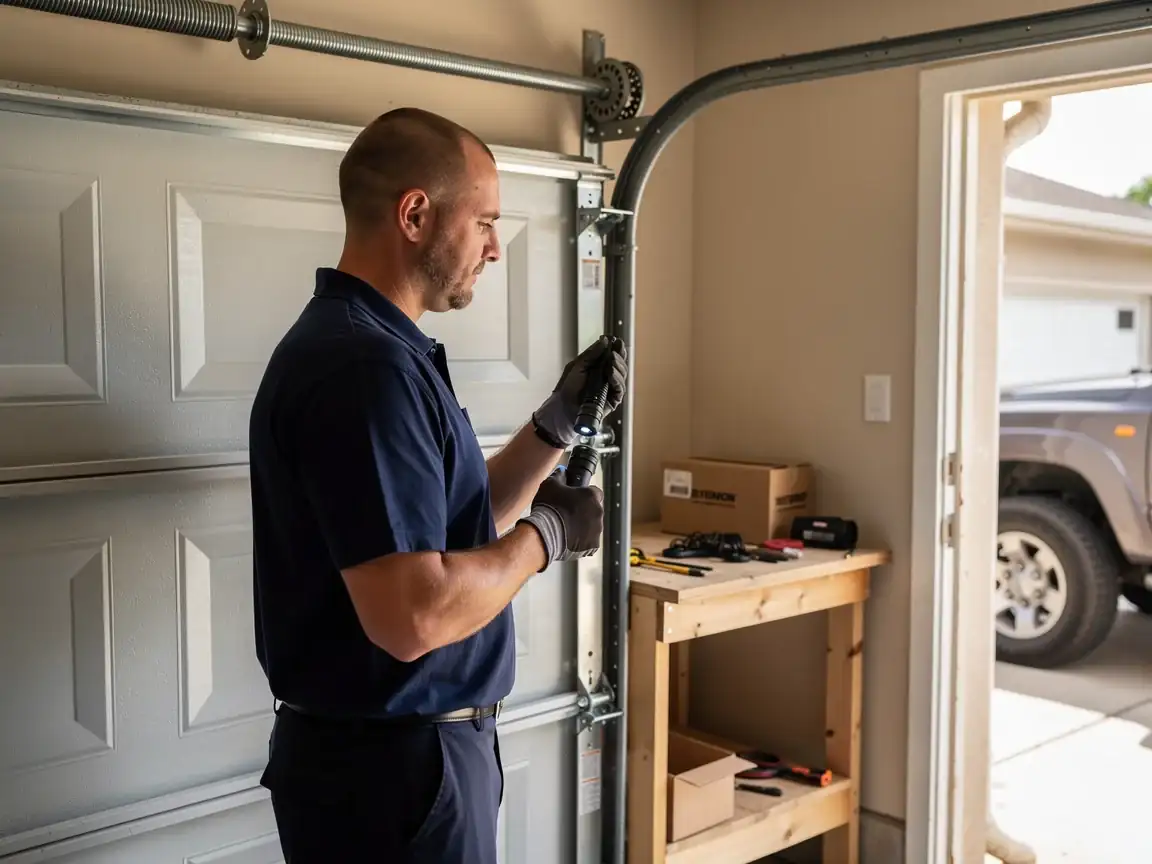
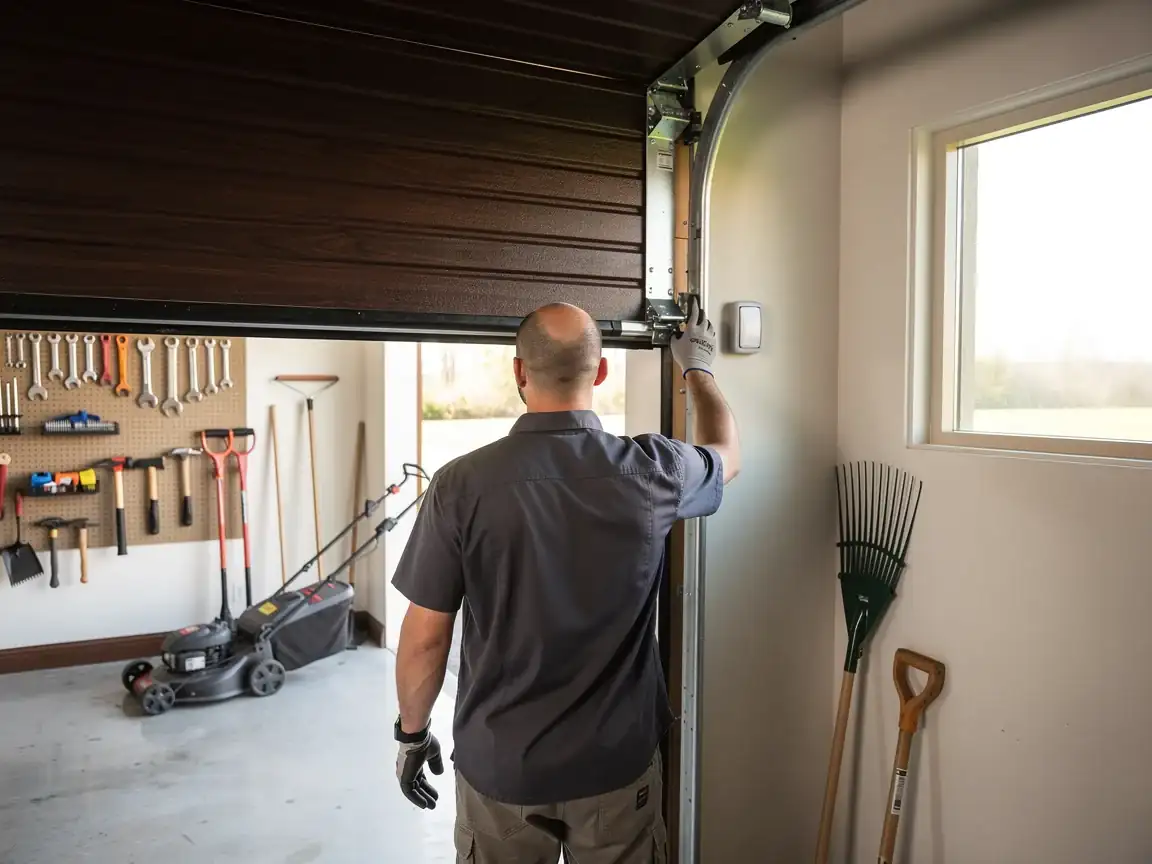
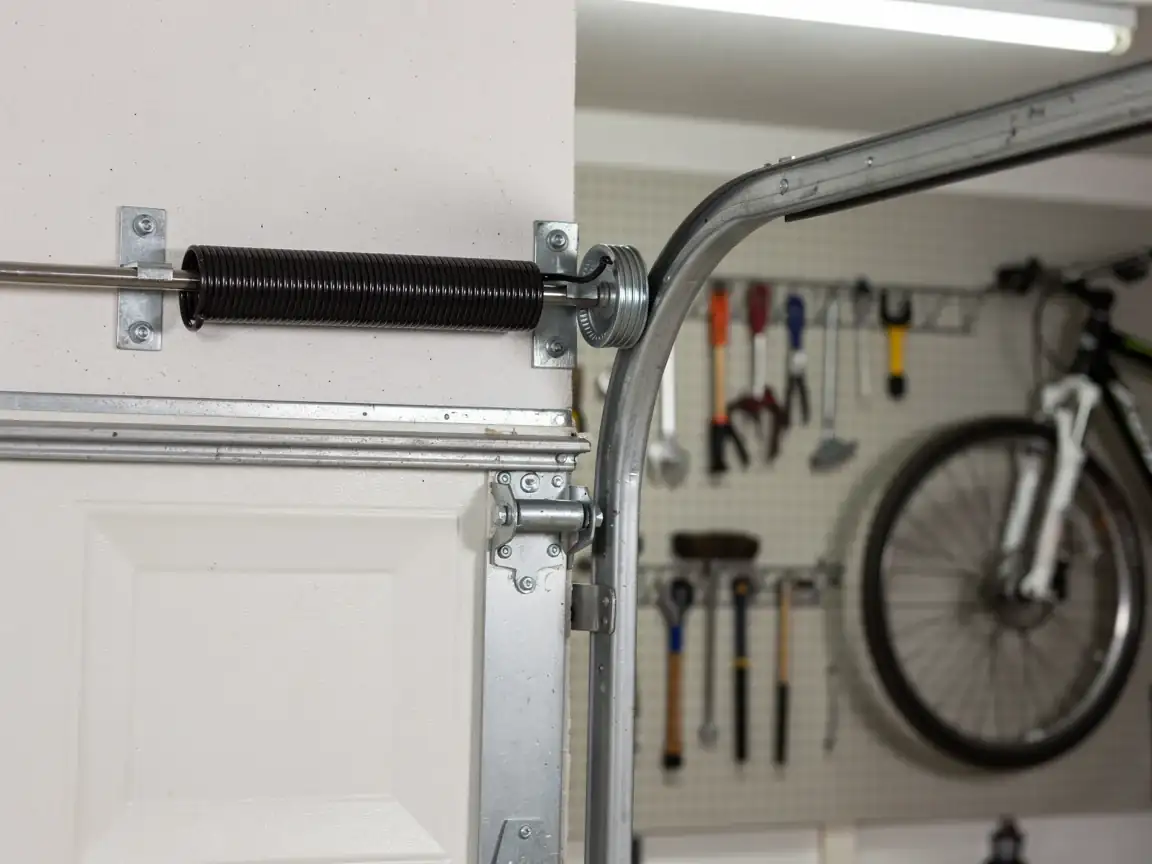
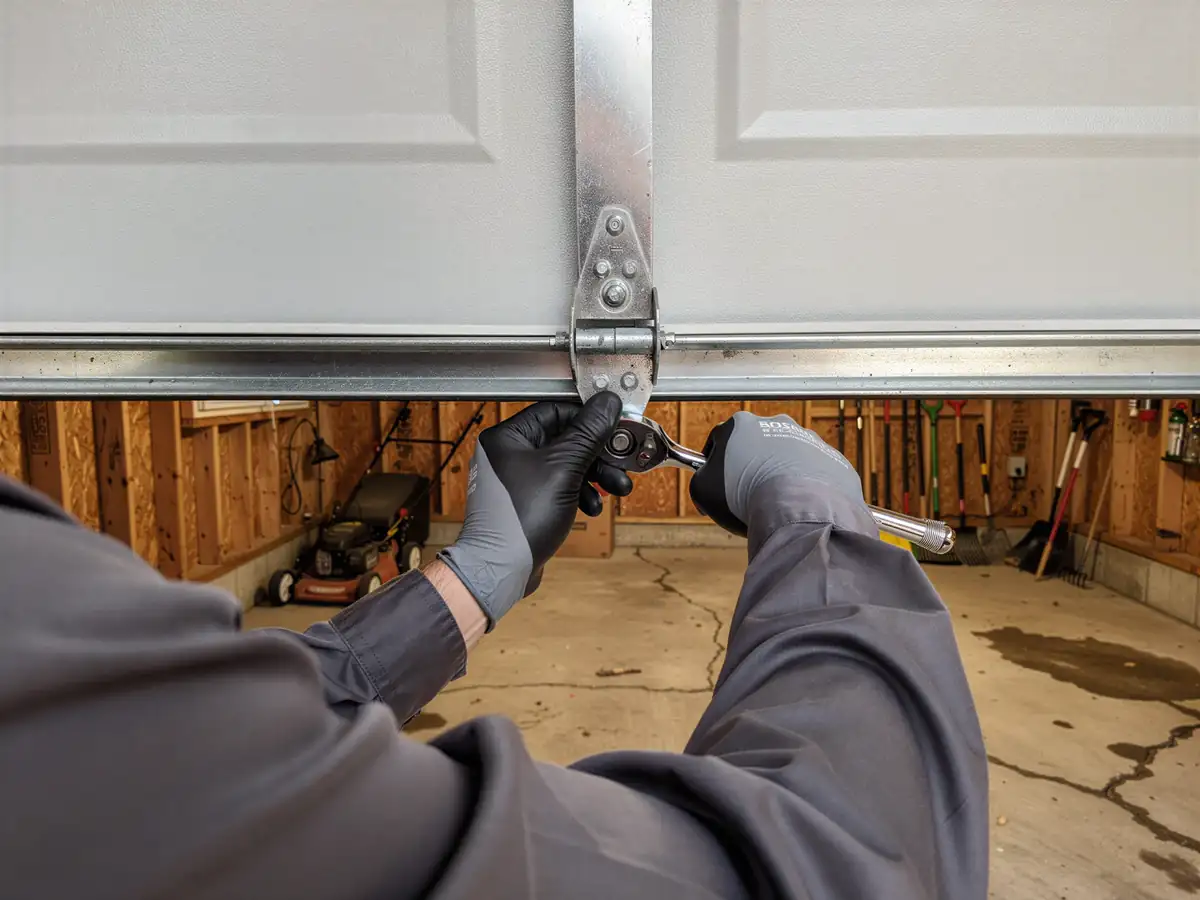
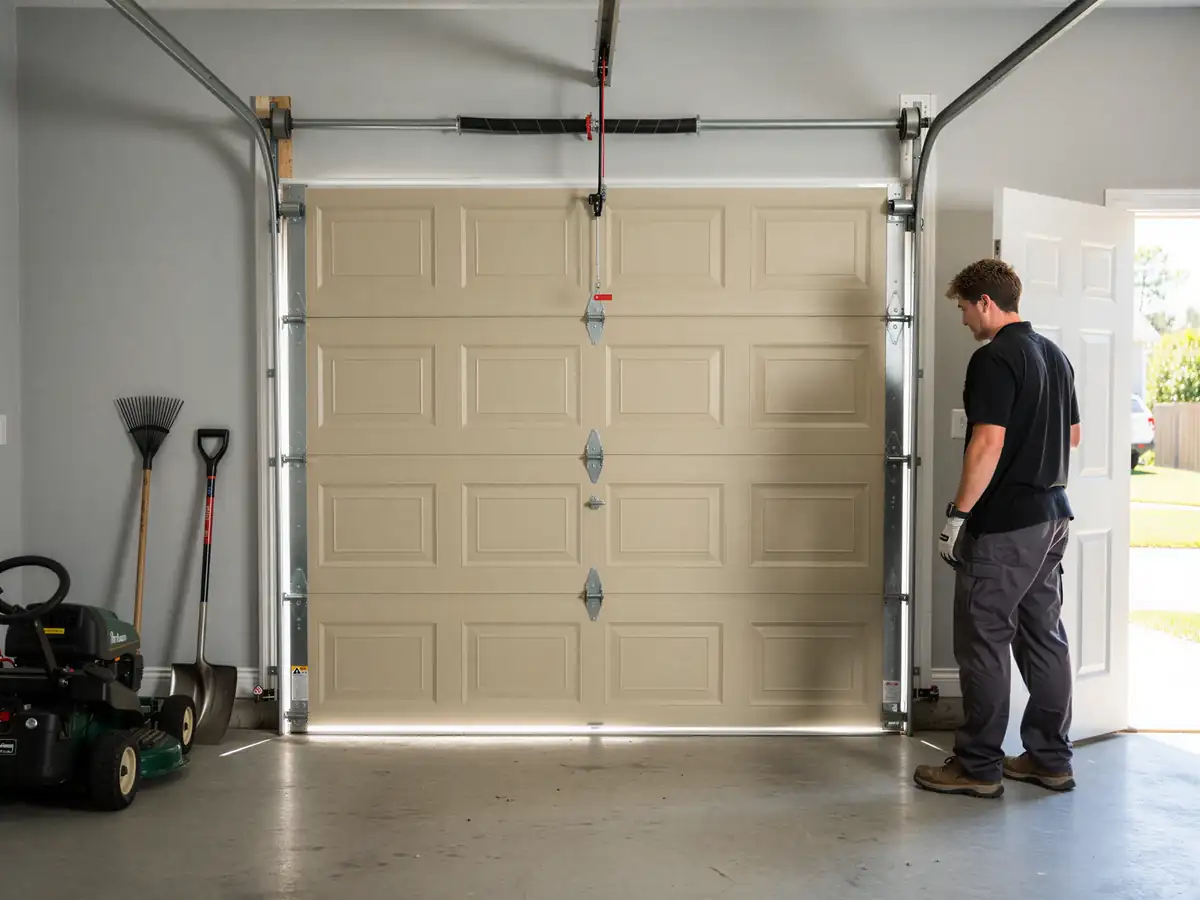
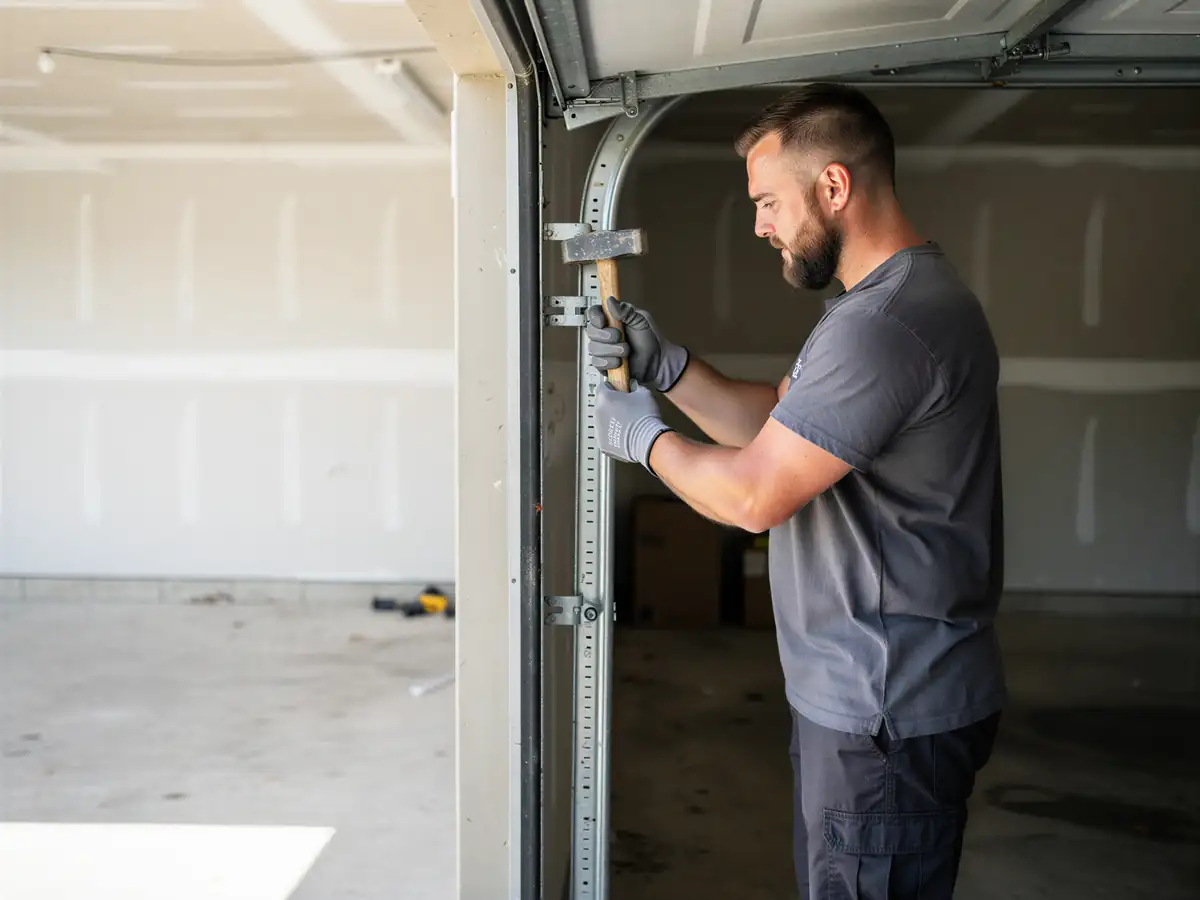
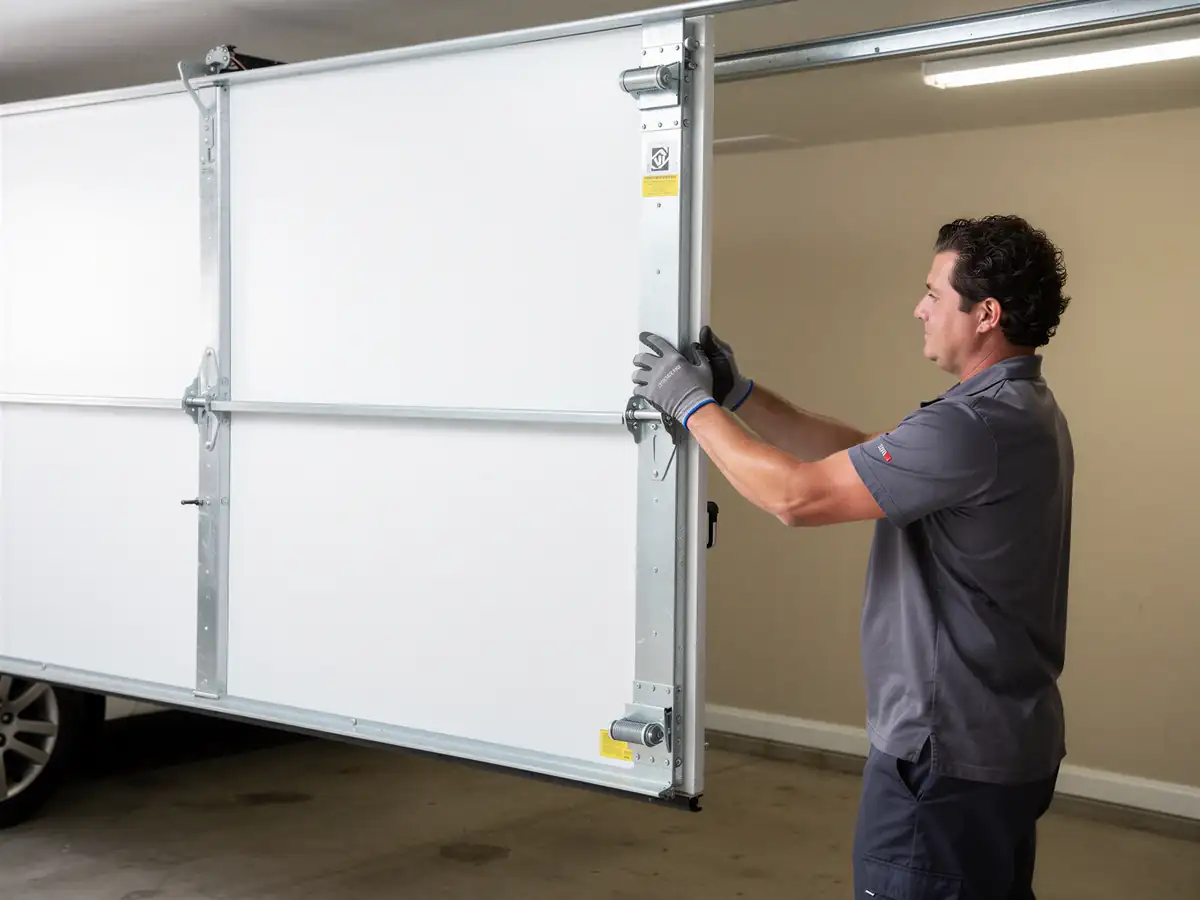
First we check door balance and spring tension before touching the opener at all - an opener fighting an unbalanced door will fail again even with a brand-new unit, and that's true whether the house is here or anywhere else. Once the door itself is sound, we match the bracket to the header, run the rail, and set the limit switches and force settings so the unit isn't straining. For homes with the older low-clearance headers common in this 1959-era stock, that means the extended bracket kit rather than the standard one in the box. Last step is testing the safety reversal sensors and, if you want it, setting up the battery backup given the severe winters this area gets. One limitation: if the header framing itself is rotted or undersized, that's a carpentry fix we flag for you rather than patch around - forcing a bracket into bad wood isn't a repair, it's a future service call.